Provision Amazon SageMaker Studio using AWS CDK
Feb 02, 2023Amazon SageMaker studio is a web-based interface built for machine learning (ML) related tasks, including preparing and processing raw data, training ML models, tuning hyper parameters, and deploying models as service endpoints. It's a one stop shop for data scientists to quickly prototype and experiment with ML data and algorithms, and actually deploy verified models to production.
While AWS management console currently offers a convenient way to manually create your SageMaker Studio and related resources, the manual effort and complexity can quickly add up when you have a large team of data scientists working in the same AWS account and having to spinning up their own SageMaker Studio environments. In this post, we will look at how to automate this process and provision Amazon SageMaker Studio resources using AWS Cloud Development Kit (AWS CDK).
SageMaker studio components
Before we dive into the CDK code to provision SageMaker Studio, it's important to understand the components of SageMaker studio, which will help us understand what CDK constructs we need to create a SageMaker studio. Below is a diagram of main components of AWS SageMaker studio.

Components of AWS SageMaker studio
As you can see from the diagram, SageMaker studio consists of SageMaker domain, SageMaker user, and SageMaker app. There can be multiple domains under the SageMaker studio, and multiple users under a SageMaker domain, and multiple apps under a SageMaker user.
Prerequisite
Before we start, let's make sure you have the proper tools and environment set up, which means you have:
- NodeJS installed
- run
brew install nodeto install node if you use macos, or follow instructions here to install node if you use other OS platforms. - run
node -vandnpm -vto verify that you have node installed.
- run
- AWS CDK command line installed
- run
npm install -g cdkto install - run
cdk --versionto verify
- run
- An AWS profile in your terminal that has permission to create SageMaker Studio resources
Step 1 - Clone the demo code Github repo
Next, let's clone the demo code repo from Github. In your terminal, run
git clone -b sagemaker-studio https://github.com/StephenWeiXu/sagemaker-demos.git
cd sagemaker-demos
This demo repo is a classic AWS CDK JavaScript package. There are several main files in this repo:
bin/sagemaker-demos.js- the entry point file where the main cdk app and stacks are definedlib/sagemaker-studio-stack.js- the SageMaker Studio stack file that defines Studio domain, Studio user profile, and Studio user app
Taking a deeper look at the main CDK code in lib/sagemaker-studio-stack.js, you can see that we first need to define a IAM role to be used by SageMaker domain and SageMaker user to manage permission.
    let sagemakerExecutionRole = new Role(this, 'SageMakerExecutionRole', {
      assumedBy: new ServicePrincipal('sagemaker.amazonaws.com'),
      roleName: `SageMakerExecutionRole-${identifier}-${region}`,
    });
Then we define a new SageMaker domain under the default VPC (you can choose to define a custom VPC for better isolation and network management), using the CfnDomain construct. The new SageMaker domain uses IAM as auth mode and the IAM role we defined early.
    const sagemakerDomain = new CfnDomain(this, `SagemakerDomain-${identifier}`, {
      authMode: 'IAM',
      defaultUserSettings: userSettings,
      domainName: `sagemaker-domain-${identifier}`,
      subnetIds: vpcSubnets.subnetIds,
      vpcId: defaultVpc.vpcId,
    });
Then we define a new user profile under the SageMaker domain, using the CfnUserProfile construct.
    const profile = {'team': 'data-science-team', 'name': 'johndoe'}
    const userProfile = new CfnUserProfile(this, `Team-${profile.team}-User-${profile.name}`, {
      domainId: sagemakerDomain.attrDomainId,
      userProfileName: `User-${profile.name}`,
      userSettings: userSettings,
    });
Then we define a default app under the SageMaker user, using the CfnApp construct. The app is associated with the particular SageMaker user.
    const defaultApp = new CfnApp(this, `User-${profile.name}-App-default`, {
      appName: 'default',
      appType: 'JupyterServer',
      domainId: sagemakerDomain.attrDomainId,
      userProfileName: userProfile.userProfileName
    });
Step 2 - Deploy your SageMaker Studio stack
Now that we have the complete code that defines a SageMaker Studio stack, let's run the CDK command line to deploy the CDK stack to your AWS account.
To deploy your AWS CDK stack, run the following commands inside the repo in your terminal:
// Make sure your terminal is already authenticated with AWS credentials for your desired AWS account

cdk synth
cdk bootstrap
cdk deploy
Wait for the command to finish and your stack should be deployed to your desired AWS account.
Step 3 - Review your SageMaker Studio stack
Let's take a look at the SageMaker Studio stack provisioned by our CDK deployment.
Open Cloud Formation in the AWS management console, you will see the following SageMaker Studio stack and resources created.
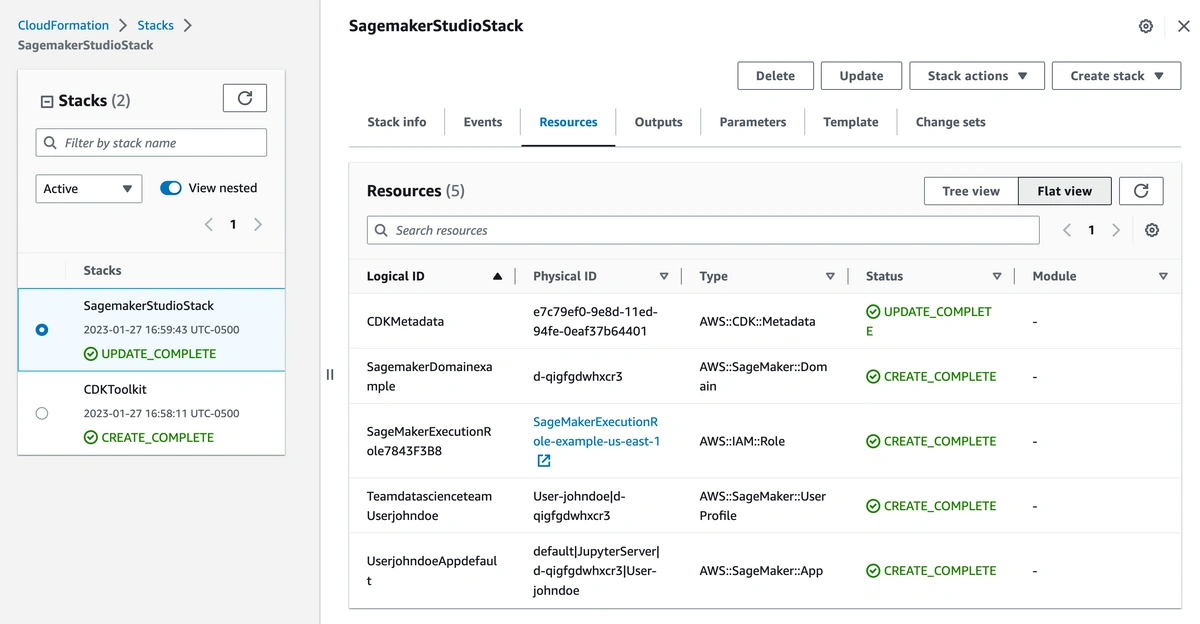
As provisioned by the CDK code, Cloud Formation created the following resources for the stack:
- A SageMakerExecutionRole IAM role to control what SageMaker domain user can access
- A SageMaker domain
- A SageMaker domain user
- A default SageMaker app under the SageMaker domain user
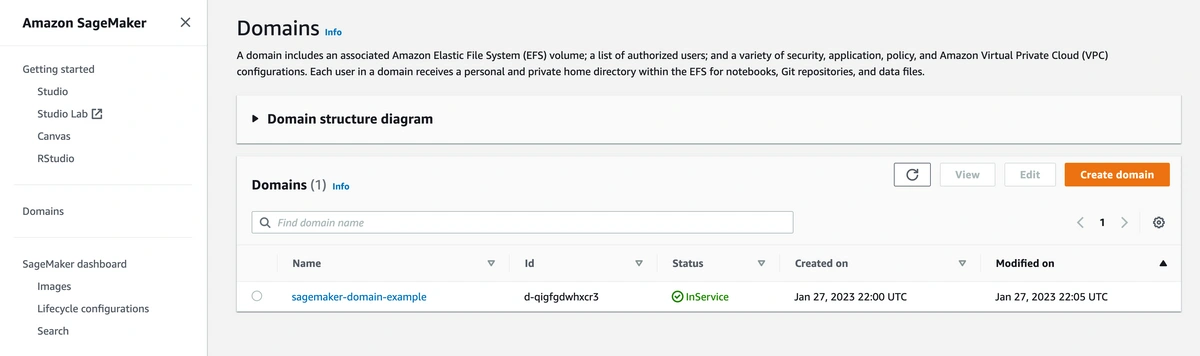
Open AWS SageMaker console, you will then see the actual SageMaker domain called sagemaker-domain-example created.
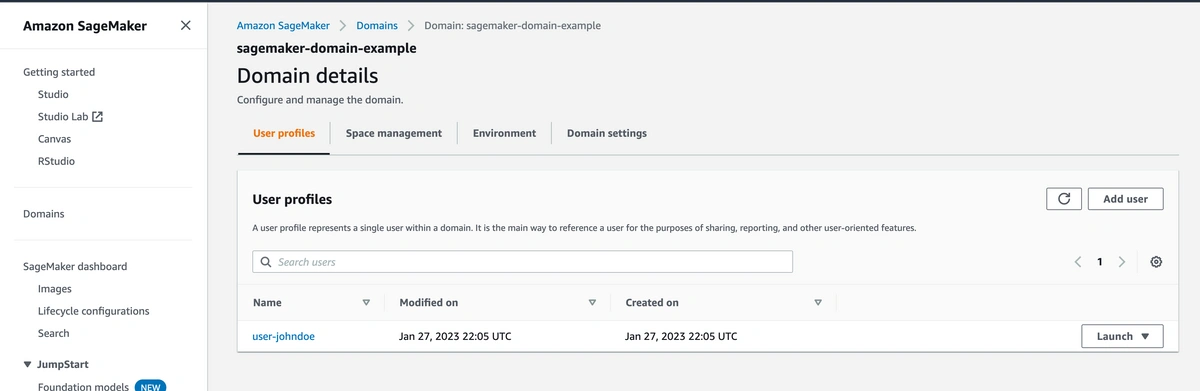
Click into the domain, and you will see a domain user called user-johndoe is created under the SageMaker domain.
Click into the user, and you will see an app called default is created under the SageMaker domain user as well.
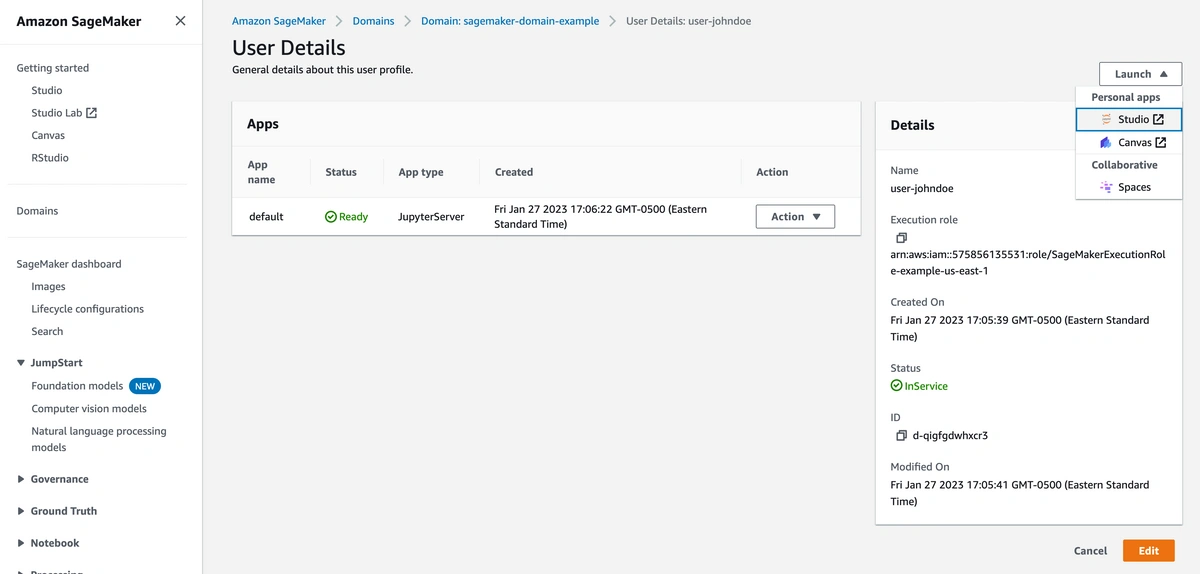
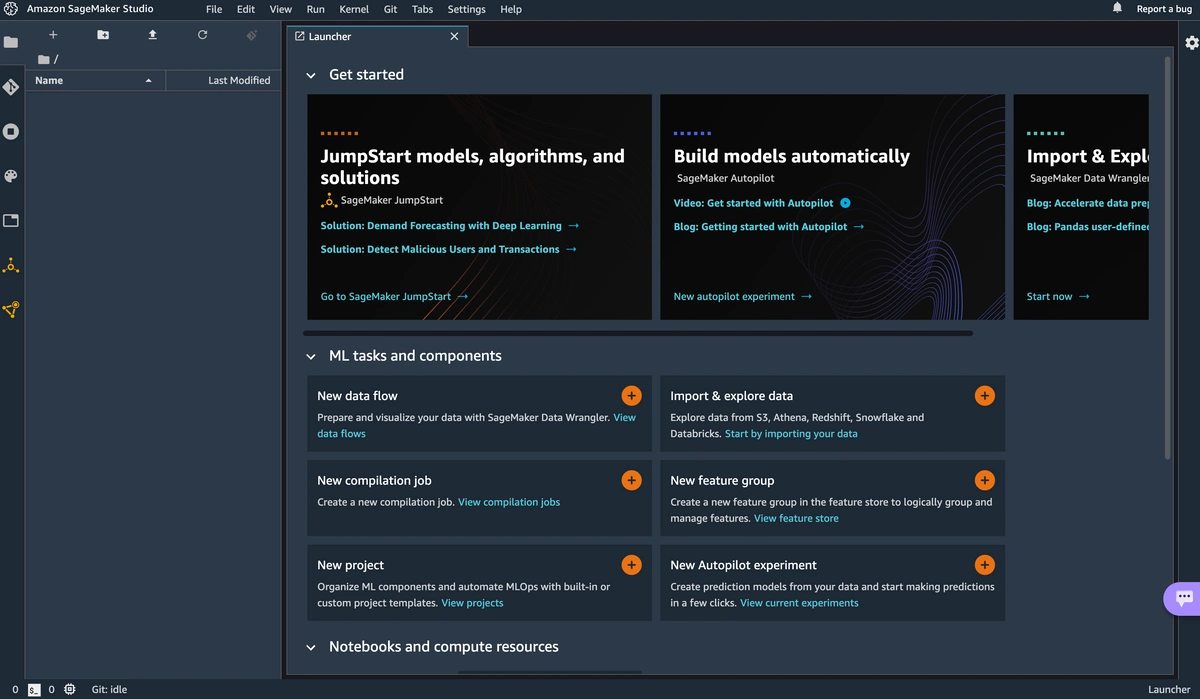
From the default app, you can launch the actual Studio interface. This will open up a Jupiter Server interface and present the actual SageMaker Studio workspace, where you can create Jupiter notebooks, run experiments, and access other features like SageMaker projects, SageMaker pipelines, and SageMaker endpoints etc.
Final Words
Automating the creation of SageMaker studio with AWS CDK comes in handy when you have a large team of data scientists creating their own SageMaker domains and workspaces. Using AWS CDK makes this process repeatable, secure, and more scalable. Give the CDK code a try and customize it to your own needs. Next, we will look at how to use AWS CDK to provision another important AWS SageMaker feature - SageMaker Project.