Automated UI Testing for iOS app - with Appium, Java and TestNG
Apr 04, 2020Writing automated UI tests is a great and efficient way to test and ensure the quality of your mobile app. Appium is a popular open source framework for automated mobile app UI testing. It lets you write automated UI tests for native, hybrid, and mobile web apps running on both iOS and Android platforms, using the same API that Appium provides. Appium API supports a wide variety of languages, including Java, Python, javascript, Ruby, C#, and PHP.
In this tutorial, we will create basic automated UI tests to run on an iOS mobile app, using Appium, Java and TestNG.
Part 1: Environment Setup
Step 1: Install Java Development Kit (JDK)
To install JDK 1.8, open your terminal and type the following:
$ brew tap adoptopenjdk/openjdk
$ brew cask install adoptopenjdk8
Now that JDK 1.8 is installed, we have to set the environment variable JAVA_HOME.
Open the file ~/.bash_profile (or ~/.zshrc if you use zsh), add the following:
export JAVA_HOME=`/usr/libexec/java_home -v 1.8`
export PATH=$JAVA_HOME/bin:$PATH
Step 2: Install Xcode and Simulators
You may likely already have Xcode installed on your Mac. But if you don't, open the App Store app and install Xcode.
Once Xcode is installed, it comes with a list of simulators to use. To check the list of simulators and their IOS versions, go to Xcode -> Window -> Devices and Simulators
If you wish to use simulators with a different iOS version, go to Xcode -> Preferences -> Component, and install the desired version of simulator.
Step 3: Install Appium
We need to run Appium server to connect to iOS device and send UI tests commands over to instruct the device to perform actions.
Appium can be simply installed via NPM. Open your terminal and type the following:
$ npm install -g appiumStep 4: Install IntelliJ IDE (Free Community Edition)
We will use IntelliJ to create our UI tests maven project. IntelliJ is an Integrated Development Environment (IDE) developed by JetBrains. Its Community Edition is free to use and powerful enough that provides rich features to write, compile and run Java code.
Download and install IntelliJ (Community Edition) from here: https://www.jetbrains.com/idea/download
Part 2: Write and Run automated UI tests
With the above set up, we should have a complete environment for running automated UI tests. Now let's look at how to write our UI tests and run them.
Step 1: Create a simple iOS app using React Native
Before we can write and run our UI tests, we need an IOS app that we can interact with to run automated UI tests. If you already have an iOS app you want to run UI tests against, you can skip to next step.
In this step, we will create a simple iOS app that we will run UI tests on, using React Native. React Native is a popular open-source mobile application framework. It can be used to develop cross-platform applications for iOS, Android, and Web.
Follow the instructions below to create a simple React Native app:
1. First, we need to install react-native-cli:
$ npm install -g react-native-cli
2. Then we can create a simple React Native app using react-native command. AppiumUITestsExampleApp is an example name for the React Native app. Feel free to change it to a name of your choice.
$ react-native init AppiumUITestsExampleApp3. At last let's run the app and open the app in iOS simulator.
In the current terminal window, start the react-native server:
$ cd ./AppiumUITestsExampleApp
$ react-native start
Open another terminal window, and cd into the AppiumUITestsExampleApp directory, run the following to run the iOS app:
$ react-native run-ios
It will start building the iOS app bundle and automatically open up an iOS simulator to install and launch the iOS app.
4. In your terminal output, you should see Build Succeed and it's then Installing and Launching the app as below:
▸ Build Succeeded
info Installing "/Users/anonymous/Library/Developer/Xcode/DerivedData/AppiumUITestsExampleApp-ctzpwtembojftqdlmhpsholpwycs/Build/Products/Debug-iphonesimulator/AppiumUITestsExampleApp.app"
info Launching "org.reactjs.native.example.AppiumUITestsExampleApp"
Take note of where it's installing the app bundle from /Users/anonymous/Library/Developer/Xcode/DerivedData/AppiumUITestsExampleApp-ctzpwtembojftqdlmhpsholpwycs/Build/Products/Debug-iphonesimulator/AppiumUITestsExampleApp.app(your app bundle file path might be different). We will need to use this app bundle file path later to run automated UI tests.
By this step, you should be able to see an iOS simulator running the example React Native app like below:
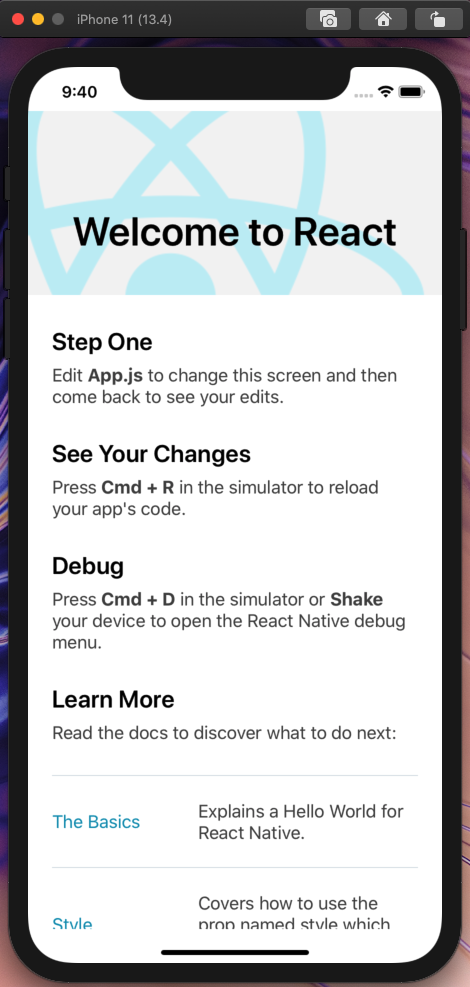
Simple React Native app running on IOS simulator (iPhone 11, 13.4)
Step 2: Create UI tests maven project
Maven is a popular build automation tool used for building and managing Java projects. We will create our UI tests project as a maven project.
1. Open IntelliJ, go to File -> New -> Project, which opens up a dialog window to create a new project.
2. Select Maven on the left panel, and set Project SDK on the top to be 1.8 (the JDK we installed earlier), and click Next.
3. On the next panel, for Name field, type AppiumIOSUITestsTutorial (or any other name you'd like). Set Location to be the directory you want to save this project. Leave the rest and click Finish.
This will create a basic maven project in IntelliJ which looks like below:
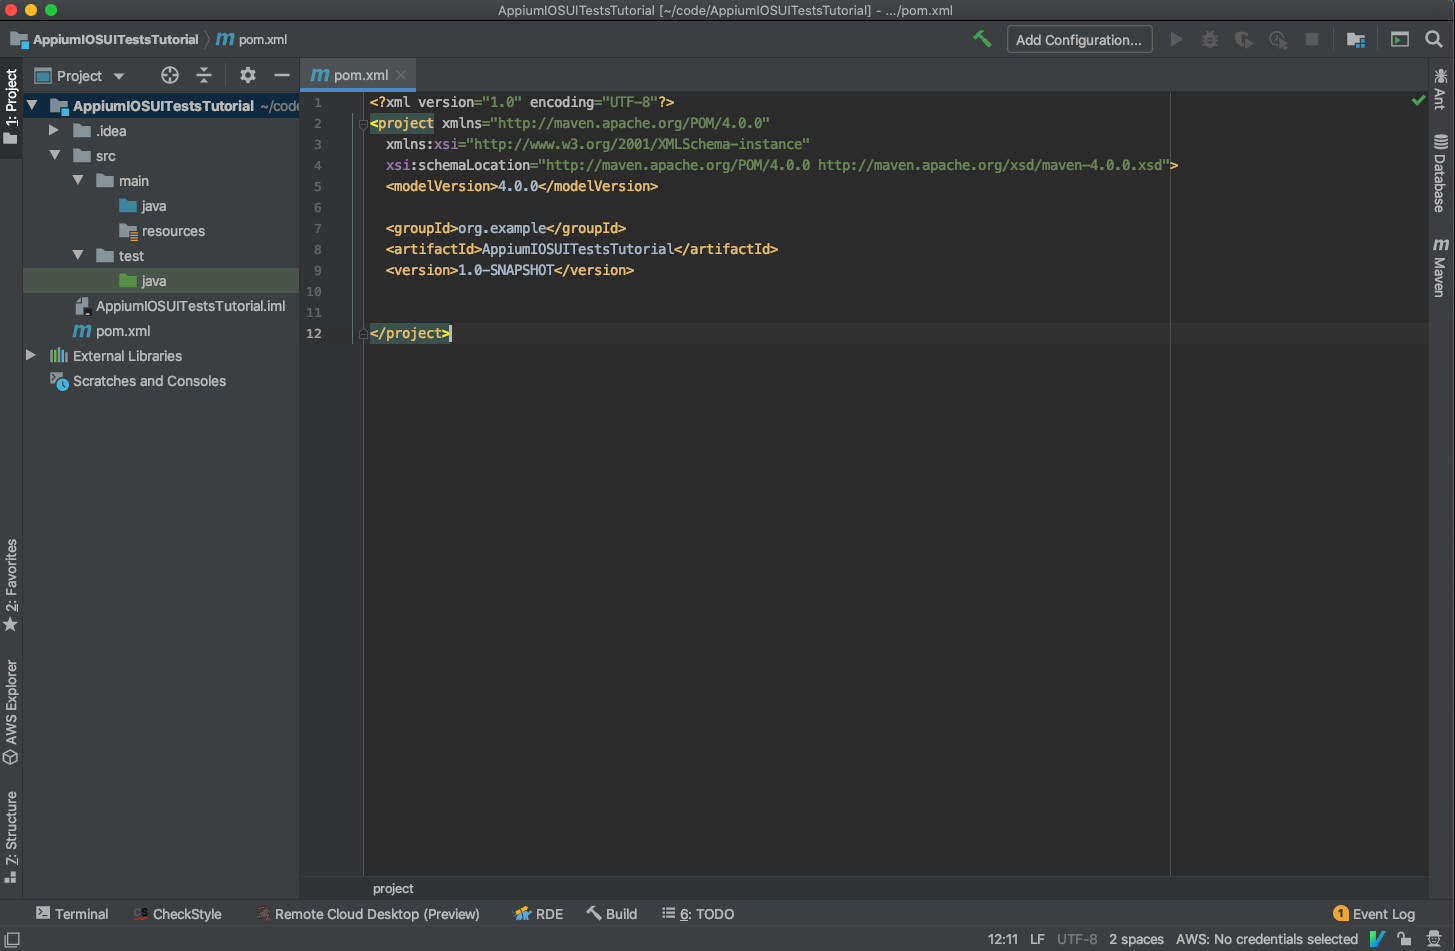
Screenshot of a basic maven project in IntelliJ
Step 3: Install package dependencies
Next, we need install a list of package dependencies that are needed to write, compile and run Appium UI test.
1. Open the file pom.xml, and add the below <dependencies>...</dependencies> block inside the <project>...</project> block.
  <dependencies>
    <dependency>
      <groupId>org.testng</groupId>
      <artifactId>testng</artifactId>
      <version>7.1.0</version>
    </dependency>
    <dependency>
      <groupId>io.appium</groupId>
      <artifactId>java-client</artifactId>
      <version>7.3.0</version>
    </dependency>
    <dependency>
      <groupId>com.google.guava</groupId>
      <artifactId>guava</artifactId>
      <version>28.2-jre</version>
    </dependency>
  </dependencies>
2. Next, right click on the project name, go to Maven -> Reimport to import the dependencies. This will download and install the above list of dependencies into the project.
Step 4: Write simple UI automation tests
Now that we have an iOS app and a UI tests maven project set up, we can start writing simple UI automation tests to run against the iOS app.
1. In IntelliJ, create a file AppUITests.java under src/main/java directory.
2. In AppUITests.java file, paste the following code:
import io.appium.java_client.ios.IOSDriver;
import io.appium.java_client.ios.IOSElement;
import io.appium.java_client.remote.MobileCapabilityType;
import java.net.MalformedURLException;
import java.net.URL;
import org.openqa.selenium.remote.DesiredCapabilities;
import org.testng.annotations.AfterSuite;
import org.testng.annotations.BeforeSuite;
import org.testng.annotations.Test;

public class AppUITests {

    public static URL url;
    public static DesiredCapabilities capabilities;
    public static IOSDriver<IOSElement> driver;

    @BeforeSuite
    public void setupAppium() throws MalformedURLException {
        final String URL_STRING = "http://127.0.0.1:4723/wd/hub";
        url = new URL(URL_STRING);

        capabilities = new DesiredCapabilities();
        capabilities.setCapability(MobileCapabilityType.AUTOMATION_NAME, "XCUITest");
        capabilities.setCapability("useNewWDA", false);
        capabilities.setCapability(MobileCapabilityType.NO_RESET, true);
        capabilities.setCapability(MobileCapabilityType.DEVICE_NAME, "iPhone Simulator");
        capabilities.setCapability(MobileCapabilityType.PLATFORM_NAME, "iOS");
        capabilities.setCapability(MobileCapabilityType.PLATFORM_VERSION, "13.4");
        // MobileCapabilityType.APP is set to the IOS app bundle file path that was created in Step 1. Replace it with your app bundle file path.
        capabilities
            .setCapability(MobileCapabilityType.APP,
                "/Users/anonymous/Library/Developer/Xcode/DerivedData/AppiumUITestsExampleApp-ctzpwtembojftqdlmhpsholpwycs/Build/Products/Debug-iphonesimulator/AppiumUITestsExampleApp.app");

        driver = new IOSDriver<IOSElement>(url, capabilities);
    }

    @AfterSuite
    public void afterSuite() {
        driver.closeApp();
    }

    @Test
    public void basicTest() throws InterruptedException {
        driver.resetApp();
    }
}
Let's take a closer look at what's going on here:
http://127.0.0.1:4723/wd/hubis the localhost url where Appium server will be running. Our UI tests will establish a connection to the Appium server url once running.- Then we need to set a list of capabilities, which we use to tell Appium how to set up our UI tests. See more about Appium desired capabilities.
AUTOMATION_NAMEtells Appium the type of automation engine we want to use.XCUITestis the driver for IOS tests.DEVICE_NAMEspecifies a name for the device. It's more of a display name to distinguish itself.PLATFORM_NAMEspecifics the mobile platform.PLATFORM_VERSIONspecifics the mobile OS version.APPspecifies the path to the app we wish to use. It could be an absolute local file path or remote http url. Do remember to modifyMobileCapabilityType.APPto be your own IOS app bundle file path that was created in Step 1.
- Last we initialize an iOSDriver using the Appium server url and capabilities. We will be using this iOS driver to interact with our device and app.
Step 5: Run automated UI tests on iOS simulator
With above UI tests written, we are now ready to run our automated UI tests against the iOS app we created on iOS simulator.
1. First, let's launch the Appium server. Open your terminal and type the following:
$ appiumThis will start the Appium server in the foreground, and the server is listening and waiting on any connection from UI tests.
2. Next, we will run the UI tests from IntelliJ. Right click on the file AppUITests.java, select Run 'AppUITests', and it should start running the TestNG tests in the file.
3. In the terminal, you should see Appium server is establishing a connection with the automated UI tests, and as instructed opening up an iOS simulator, installing our iOS app bundle, and executing the automated UI tests against the installed iOS app.
4. Meanwhile, you will see an IOS simulator being opened up and our AppiumUITestsExampleApp iOS app being installed and launched a few times. Our automated UI tests run in IntelliJ will also finish successfully.
Final Words
Congrats! You have successfully created a React Native iOS app, and written automated UI tests to interact with the app on iOS simulator. Feel free to play around and add some more complicated UI tests to verify the app's behaviors.